
Aufgepasst, denn hier kommt der erste DIY-Post :) Ich habe mich heute mal an ein blumiges Nageldesign gewagt. Es sieht nicht perfekt aus, aber ich bin zufrieden. Die Idee hab ich durch ein Bild auf Pinterest bekommen.
Watch out, 'cause here comes the first DIY post :) I have once dared to try a floral nail design. It doesn't look perfect, but I am satisfied. I got the idea through a picture on Pinterest.

Was man braucht:
Pastellgrüner Nagellack (ich nutze: Catrice, 'Always Sold Out')
Gelber Nagellack (ich nutze: Maybelline ColoRama, 'Electric Yellow')
Weißer Nagellack (ich nutze: Lacura, 'Weißlack')
Klarer Schutzlack (ich nutze: Essence Nail Art, 'Sealing Top Coat')
ein sehr dünner Pinsel
You'll need:
Pastel green nail polish (I'm using: Catrice, 'Always Sold Out')
Yellow nail polish (I'm using: Maybelline ColoRama, 'Electric Yellow')
White nail polish (I'm using: Lacura, 'Whitepolish')
Clear protective coating (I'm using: Essence Nail Art, 'Sealing Top Coat')
a very thin paintbrush
Vorgehen:
Zuerst muss man seine Nägel vorbereiten. Dazu gehört es, die Nägel noch mal zurecht zu schneiden. Aber Vorsicht, denn sie sollen nicht zu kurz werden. Außerdem sollte alter Nagellack auf jeden Fall sauber entfernt werden. Falls man gerade Nagellack entfernt hat, sollte man nicht direkt neuen Lack auftragen. Unbedingt die Hände gründlich reinigen und pflegen.
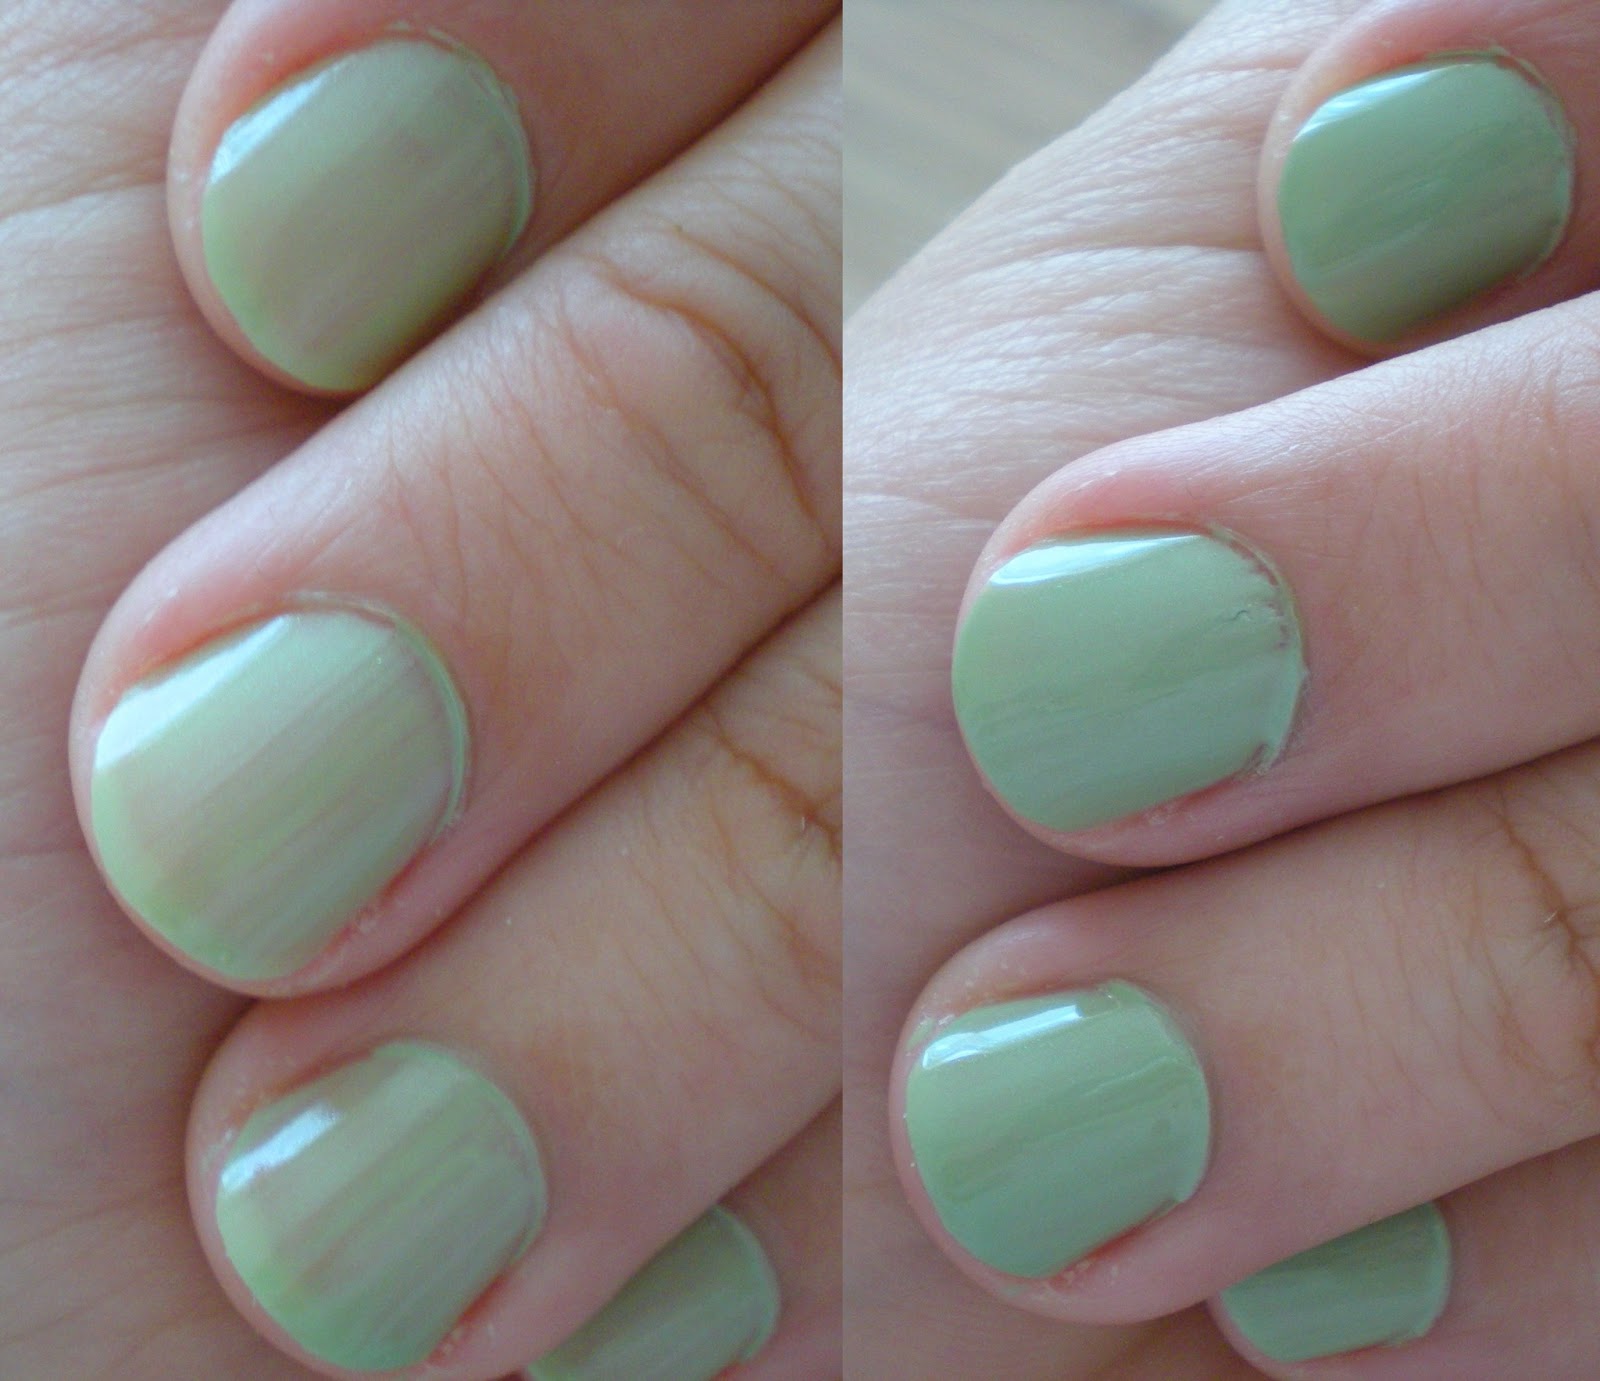
Wenn die Nägel bereit sind trägt man eine Schicht mit dem pastellgrünen Nagellack auf. Bei mir war eine zweite Schicht notwendig, da der Nagellack nicht ausreichend deckend ist. Wenn man zwei Schichten auftragen muss, sollte man die zweite Schicht erst dann auftragen, wenn die erste trocken ist. Für die ungeduldigen gibt es ein paar Hilfsmittel wie Nagellack-Trockner oder UV-Lampen. Die einfachste Möglichkeit ist aber kaltes Wasser.
Sobald der pastellgrüne Lack getrocknet ist kann man damit beginnen in gleichmäßigen Abständen gelbe Punkte mit dem gelben Lack zu setzen und auch diese antrocknen lassen. Sie müssen nicht vollständig getrocknet sein um die weißen Punkte zu setzen. Den weißen Lack mit dem Pinsel um die gelben Punkte herum auftragen, sodass Blumen entstehen. Die Blumen müssen jetzt nur trocknen um dann den schützenden Klarlack aufzutragen. Fertig!

Procedure:
First you will have to prepare your nails. Cutting the nails belongs to this preparation. But be careful, because they should not get too short. In addition, you should remove old nail polish completely. If you have to remove old nail polish, you should not apply new polish straight away. Wash your hands thoroughly and care them.
As soon as your nails are ready apply a layer of the pastel green nail polish. I had to apply a second layer since the first layer did not cover enough. If you have to apply a second layer as well, you will have to wait until the first layer is dried. For the impatient ones, there are a few tools such as nail polish dryer or UV lamps. But the easiest way is cool water.
Once the pastel green polish has dried you can start to place yellow dots in equal intervals with the yellow polish and then let them dry. They do not need to be completely dried, before you start to place the white dots around the yellow ones to form little flowers with the paintbrush. Make sure that the flowers are all dired up before you apply the clear protective coating. Done!

:) Was denkst du über meine Nägel? What do you think of my nails?
Keine Kommentare:
Kommentar veröffentlichen